
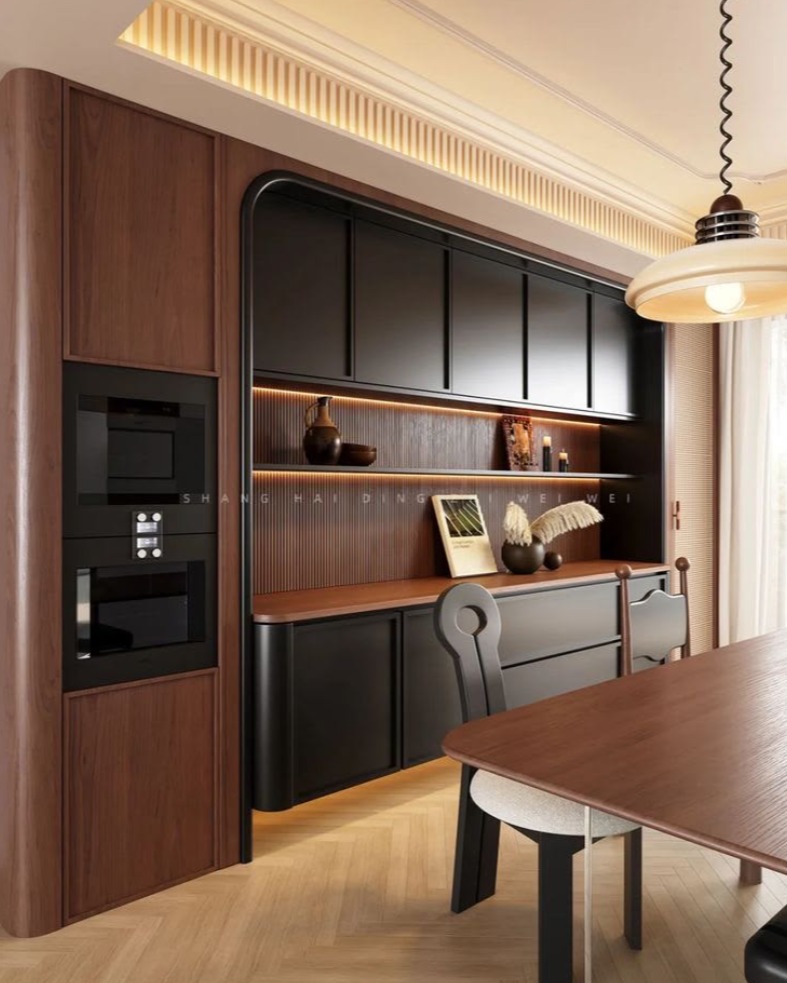
A kitchen can have ample cabinetry and still feel cramped when the refrigerator, sink, hob, drawers, and landing surfaces are placed without a clear sequence. You will be able to measure the room, assign work zones, calculate genuinely usable counter space, and test cabinet dimensions before approving a modular layout.
Key takeaways
- Measure finished openings, not nominal cabinet module widths.
- Connect preparation, cooking, washing, and storage into practical work zones.
- Reserve counter space beside the sink, hob, and refrigerator.
- Check appliance doors, services, aisles, and accessibility before ordering cabinets.
Measure the room before choosing cabinet modules
A cabinet run can be unusable even when its nominal width fits the wall. Measure the finished room before selecting modules, and record obstructions that reduce the true opening: fillers, end panels, scribes, uneven walls, skirting, doors, and appliance clearance zones. Use clear internal dimensions, not only standard 600 mm or 24 in module widths.
Use this kitchen measurement checklist:
- Record wall-to-wall dimensions at floor, counter, and ceiling level; differences reveal bowed walls or out-of-square corners.
- Measure ceiling height, beams, columns, bulkheads, and the distance from each corner to these obstructions.
- Note window and door openings, including width, height, sill height, swing direction, trim, and the clearance needed to open them fully.
- Mark plumbing points, waste outlets, electrical points, gas-line position, switches, and the direction from which each service arrives.
- Select appliances before fixing cabinet runs. Copy each manufacturer’s installation drawing, including ventilation gaps, anti-tip fixing, door-clearance zones, dedicated circuits, water or gas connections, and service access.
- Measure island space with appliance doors, drawers, seating, and circulation paths open; a walkway through the cook’s zone creates collisions and unsafe hot-pan movement.
RecordMeasure or verifyWhy it mattersNominal moduleBox width versus clear openingDoors, fillers, and panels consume spaceAppliance widthInstallation space and service gapsA “600 mm” appliance may need more roomCornerDoor swing and maintenance accessBlind corners can waste frontage and storageWork surfaceUsable frontage, excluding gapsCorners and appliance breaks do not count as preparation space
Replace a rigid work triangle with connected work zones
Place the prep zone between food storage and cooking, so ingredients move from refrigerator or pantry to counter to hob without crossing the cleaning route. Keep the refrigerator near the entry or a landing surface, where someone can retrieve food without entering the cook’s main position.
- Food storage zone: place the refrigerator, pantry, and frequently used dry goods near the entry and prep zone.
- Prep zone: provide the clearest counter run between storage and hob, with knives, boards, bowls, and small appliances within reach.
- Cooking zone: keep the hob beside a usable landing surface for hot pans, but away from the main circulation path.
- Cleaning zone: put the sink beside the dishwasher, with a short route from dining or serving areas and no need to carry dirty dishes across the prep counter.
- Serving zone: position it between cooking and the dining area, using a peninsula or separate counter so people can collect food without entering the cook’s working space.
The work triangle remains a useful check for a single cook: each leg measures 4 to 9 feet, and the three legs total no more than 26 feet under the NKBA guideline. It becomes less useful when two people cook together or when preparation, baking, and beverages have separate destinations.
In a parallel kitchen, keep each zone on the nearest run rather than forcing repeated crossings. In an L-shaped or U-shaped kitchen, use the corner for storage or appliances, not your main prep surface. Treat an island as a work station only after testing open doors, seating, hot-pan landing space, and through-traffic.
A 42-inch work aisle suits one cook; allow 48 inches for two.
Calculate usable counter space and aisle clearance
Plan for at least 158 inches of total usable counter space, measured as countertop frontage 24 inches deep. Treat this as a distributed target, not one uninterrupted run: count preparation areas, landing surfaces, and worktops, but exclude appliance gaps, inaccessible corners, and sections blocked by doors.
Reserve countertop landing space beside the refrigerator, sink, and hob. A refrigerator needs room to set down groceries; if its handle side has no surface, place the landing area opposite it only when the aisle remains usable. Add filler or end clearance where needed so the refrigerator door opens wide enough to remove drawers.
Use these clearance checks before fixing cabinet modules:
- Allow a 42-inch work aisle for one person cooking. This gives you room to stand, turn, and open a drawer without blocking the opposite counter.
- Allow a 48-inch kitchen aisle where two people work back-to-back or drawers and appliances open opposite each other.
- Keep about 36 inches for a circulation walkway, but do not treat it as productive work space.
- Test the island with every oven, dishwasher, and drawer open. A narrow aisle turns one open door into a barricade.
- Keep seating out of the main cooking path, especially beside a hob or hot-pan landing area.
A 36-inch counter height is a convention, not a rule. Set height around the users and tasks; an accessible work surface cannot exceed 34 inches under ADA standards and also needs knee clearance and clear floor space, which reduce cabinet storage. Reserve those clearances before calculating the final usable counter space.
Match cabinet dimensions to access, not just storage volume
A 600 mm module does not provide 600 mm of usable storage. Box thickness, doors, drawer fronts, fillers, end panels, scribes, and wall irregularities reduce the opening, so dimension clear internal widths and installation gaps on the fit-out drawing. A deep base cabinet becomes inefficient when you cannot see or reach its rear third.
Storage choiceAccess benefitTrade-offFull-extension drawersBring the entire contents into viewCost more and need clear opening spaceInternal pull-outsMake narrow or deep cupboards usableReduce internal width and add hardwareCorner carousel or magic cornerReach otherwise inaccessible corner storageConsume volume, cost more, and need maintenance accessTall pantry unitStores bulk or infrequently used food verticallyInterrupts counter visibility and prep space
Use full-extension drawers for pans, plates, food containers, and heavy items. Reserve shallow dedicated drawers for cutlery, knives, boards, and small tools; stacking these in a deep cabinet creates wasted layers.
Set wall cabinet height by reach, not ceiling height. Keep daily-use items between shoulder and eye level, and use the highest shelves for occasional items. A tall pantry unit belongs near food storage, not in the middle of the main preparation run.
Before approving a corner cabinet, compare its usable shelf area, door opening, interference with adjacent drawers, and service access against leaving the corner unused and installing wider drawers elsewhere. A smaller cabinet that opens fully can outperform a larger one that hides its contents.
Test appliances, services, and accessibility before finalizing the layout
Do not approve cabinet fabrication until every appliance, connection, opening, and access route has been tested at full size. A cabinet run that fits the wall can still fail when a door, hose, plug, drawer, or service technician needs room.
1. Collect the appliance installation drawings, not just catalogue dimensions. Mark ventilation gaps, anti-tip fixings, dedicated circuits, gas or water points, drain routes, and service access on the cabinet plan.
2. Open each appliance door in the proposed layout. Check the refrigerator door swing, handle-side landing space, and drawer removal; add a filler at the end of a run if the door cannot open far enough.
3. Keep the dishwasher beside the sink so hoses stay short and loading does not block the main preparation route. Protect at least 36 inches of uninterrupted counter between the sink and cooktop; a dishwasher or tall unit placed there creates a daily obstacle.
4. Test an island with every door, oven, and dishwasher open. Confirm hot-pan landing space, seating intrusion, aisle clearance, and whether someone walking through the room crosses the cook’s working zone.
5. Reserve the correct electrical, plumbing, gas, and exhaust positions before closing walls or fixing cabinets. Photograph and label each point for the installer.
6. Test accessibility with clear floor space, sink knee clearance, reachable controls, and an accessible kitchen work surface. If you use the U.S. ADA benchmark, keep that surface no higher than 34 inches and reserve the required knee and floor clearance.
DRISYA INTERIORS AND ARTS - By Rashmi Khurana can use this appliance-and-services checklist during kitchen design coordination, before custom cabinetry turns an untested assumption into rework.
Related items
KITCHEN DESIGN
🏆 Best Kitchen Design with Drisya Interiors & Arts – Where Function Meets Elegance Transform Your Culinary Space with Award-Winning Interior Experts...
View service → KITCHEN AND WARDROBES
by Drisya Interiors and Arts At Drisya Interiors and Arts, we understand that kitchens and wardrobes are more than functional spaces—they are...
Frequently asked questions
- What should you measure before choosing modular kitchen cabinets?
- Measure the finished wall lengths, ceiling height, door and window openings, skirting, uneven walls, fillers, end panels, scribes, and appliance clearance zones. Record clear internal dimensions instead of relying only on 600 mm or 24 in module widths.
- Why are connected work zones more useful than the kitchen work triangle?
- Connected zones place related tasks together: storage near the refrigerator, preparation near the sink, cooking beside heat-safe counter space, and cleaning near waste and drainage. This reduces unnecessary movement on straight, L-shaped, and parallel layouts.
- How do you calculate usable counter space in a modular kitchen?
- Measure uninterrupted counter runs after deducting sink and hob cut-outs, corner losses, drainers, appliance footprints, fillers, and required landing areas. Check that the remaining preparation surface sits between storage, washing, and cooking zones.
- What aisle clearance should a kitchen layout provide?
- Measure the finished gap between opposing cabinet fronts, handles, appliances, and islands. Allow enough space for doors and drawers to open without blocking a work zone, and test the clearance with the largest appliance doors open.
- What should you test before finalising a kitchen layout?
- Confirm appliance dimensions and door swings, electrical points, water and waste positions, chimney ducting, gas or induction requirements, lighting, cabinet access, and the reach needed to use shelves, drawers, and controls.
Related items
All Furniture Works
All Furniture Works
All Furniture Work with Drisya Interiors & Arts At Drisya Interiors & Arts, we design and create custom furniture solutions that perfectly match your...
 COMMERCIAL INTERIORS
by Drisya Interiors and Arts At Drisya Interiors and Arts, we understand that commercial spaces need to be more than just functional—they must...
View product →Bath Interior Services
Bath Interior Services
Bath Interior Services with Drisya Interiors & Arts At Drisya Interiors & Arts, we specialize in creating luxurious and functional bathroom interiors...
Commercial /office interiors
🏢 Commercial & Office Interiors with Drisya Interiors & Arts – Design That Works Elevate Your Workspace with Intelligent, Inspiring Interior...
Keywords